

AngL0306@outlook.com
A rolling office chair, a dropped pan, a refrigerator dragged half a meter across the kitchen — that is how most vinyl floor repairs begin. The conclusion first: almost every one of those repairs can be done in place, without pulling up the surrounding floor, as long as the plank core is intact and the locking tongue has not snapped. The method depends on which layer failed, not on how dramatic the damage looks in a photograph.
A vinyl floor is a stack of layers: a wear layer on top, a printed or solid vinyl layer beneath it, a core of PVC, stone-polymer composite or wood-plastic composite, and on glue-down products, an adhesive bond to the subfloor. A scratch lives in the wear layer. A dent pushes into the print layer. A crack runs through the core. A lifted corner is an adhesive or seam problem. Diagnose in that order and you will not waste money on the wrong repair kit.
Content
Two minutes with a fingernail, a flashlight held low against the floor, and your thumb will tell you more than any repair video. A mark that does not catch a fingernail sits in the wear layer. A dent that flexes slightly before settling sits in the print layer. A plank that moves underfoot when you step on it has lost its lock or its adhesive.
| What you see | Layer that failed | Repair route | Typical working time |
|---|---|---|---|
| Hairline scratches, dull traffic lanes | Wear layer only | Restore the sheen with floor finish, or fill deeper marks with a color-matched compound | 10 to 20 minutes |
| Dents, punctures and gouges that reach the pattern | Print layer, core intact | Heat-lift or vinyl filler; replace the plank if the damage is wider than a coin | 20 to 45 minutes |
| Cracked plank, broken click tongue, open gap | Core or locking system | Cut the plank out and drop in a replacement | 45 to 90 minutes |
| Curled corner, lifted edge, open seam | Adhesive or seam | Re-bond with vinyl adhesive, then roll the seam flat | 20 to 30 minutes |
| Torn or cut sheet vinyl | Vinyl layer, subfloor intact | Double-cut patch bonded with vinyl adhesive | 40 to 60 minutes |
The order matters. Filling a scratch that actually sits above a cracked core buys a few weeks and then fails, because the filler has nothing rigid to hold on to. Replacing a whole plank when the damage is only a scuff costs you a dye-lot match you may never recover. Work from the least invasive repair upward, and stop as soon as the mark no longer catches your eye in normal lighting.
One tolerance is worth remembering: most one-part fillers shrink as they cure. Two thin passes built up over twenty minutes hold their shape, while a single thick pass sinks and reads as a hollow spot under a raking light.
On sheet vinyl and most glue-down vinyl tile, a thin coat of floor finish blended outward in a 15 cm circle hides fine scratches, because the finish fills the groove rather than sitting on top of it. Test on an inconspicuous area first. A matte, deeply embossed luxury vinyl plank will show a wax ring within a week, and the ring is harder to remove than the original scratch.
These need filler. Apply the compound with a plastic card held at roughly 45 degrees, overfill slightly so the material sits above the surrounding surface, then let it cure for the full time on the label — usually 30 to 60 minutes, longer in humid weather. Shave it flush with a fresh razor blade held almost flat against the floor, and finish with a touch of floor finish to bring the sheen back in line.
Vinyl softens at a low temperature. A hair dryer on its highest setting, or a heat gun on its lowest, held 10 to 15 cm from the floor and kept moving, will let a shallow dent relax back into shape. Press the warm spot with a cold flat object, such as a metal putty knife or a can from the refrigerator, and hold it until the vinyl sets.
The risk is real. Hold the heat on one spot and the wear layer blisters, or the print layer ripples permanently. If the plank has a gloss finish, or an embossed pattern that lines up with the printed design, skip heat entirely and go straight to filler.
Build the repair in layers. The first pass goes into the bottom of the dent, the second fills to slightly above the surface. Between passes, let the material skin over so it does not pull out when you level it. A color-matched filler will always be slightly off under direct sunlight; that is normal, and it disappears in a room with ordinary lighting.
A puncture usually starts as a small hole and grows every time something rolls over it. If the plank flexes when you press beside the damage, or the mark reaches past the edge of the tile, filler will crack within weeks. Cut the plank out instead of chasing the repair.
Confirm what you have before you cut anything. A click-lock plank has a visible joint along both long edges and will lift slightly at the short end under light prying. A glue-down plank feels solid and will not move. The two systems need completely different removal techniques.
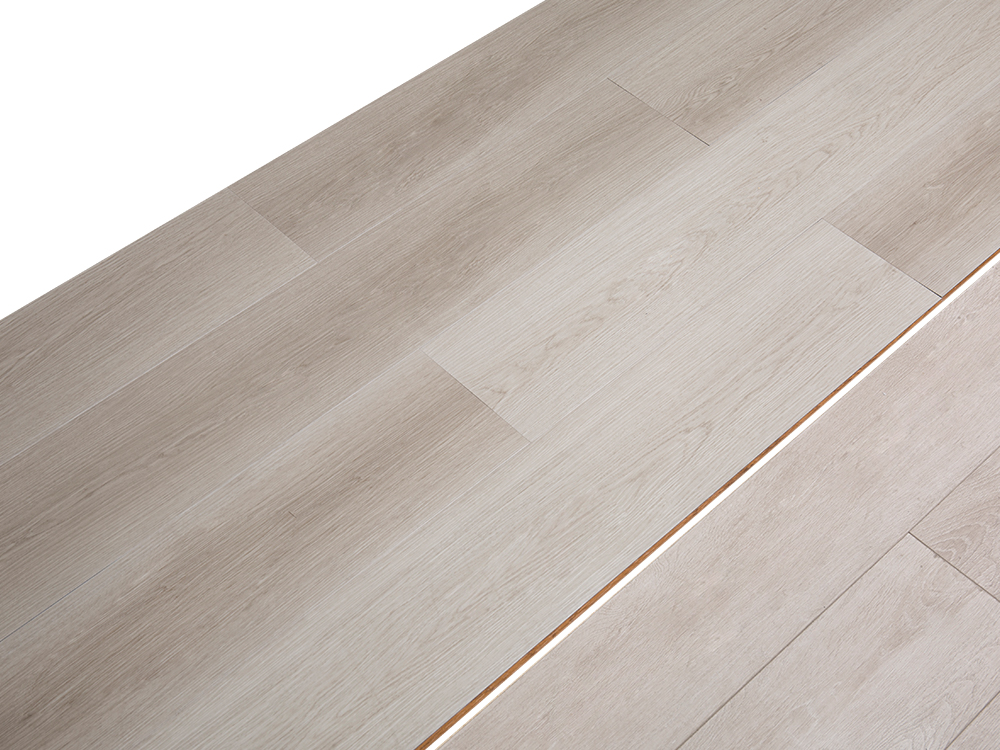 LVT Click Lock Flooring with Unilin Locking SystemAdhesive-free luxury vinyl tile with a Unilin click-lock system, waterproof wear layer, and stable PVC core for busy interiors.View Product →
One detail decides whether the repair disappears: a click-lock floor is a system, and a plank even half a millimeter thicker than the original will not lock flush no matter how carefully it is trimmed.
Sheet vinyl repairs fall into two groups, and they are treated differently because sheet goods are bonded across their whole back, not locked at the edges.
For a lifted edge or a small tear, clean the area with alcohol, warm the flap so it lies flat again, and work vinyl adhesive underneath with a syringe or a thin spatula. Press it down, roll from the centre of the repair toward the edges with a hand roller, wipe off the excess and weight it overnight.
For a cut or burn that will not lie flat, use the double-cut method. Tape a matching offcut over the damage with the pattern aligned, cut through both layers with a fresh blade, remove the waste from the patch and from the floor, then bond the patch with vinyl adhesive applied to the subfloor and to the back of the patch. Let the adhesive flash, set the patch and roll the seams.
If the damage runs against a wall, pull the quarter round or baseboard before you lift the vinyl. It costs ten minutes and gives you room to get adhesive under the edge and roll it flat — which is exactly where a repair either holds or peels again.
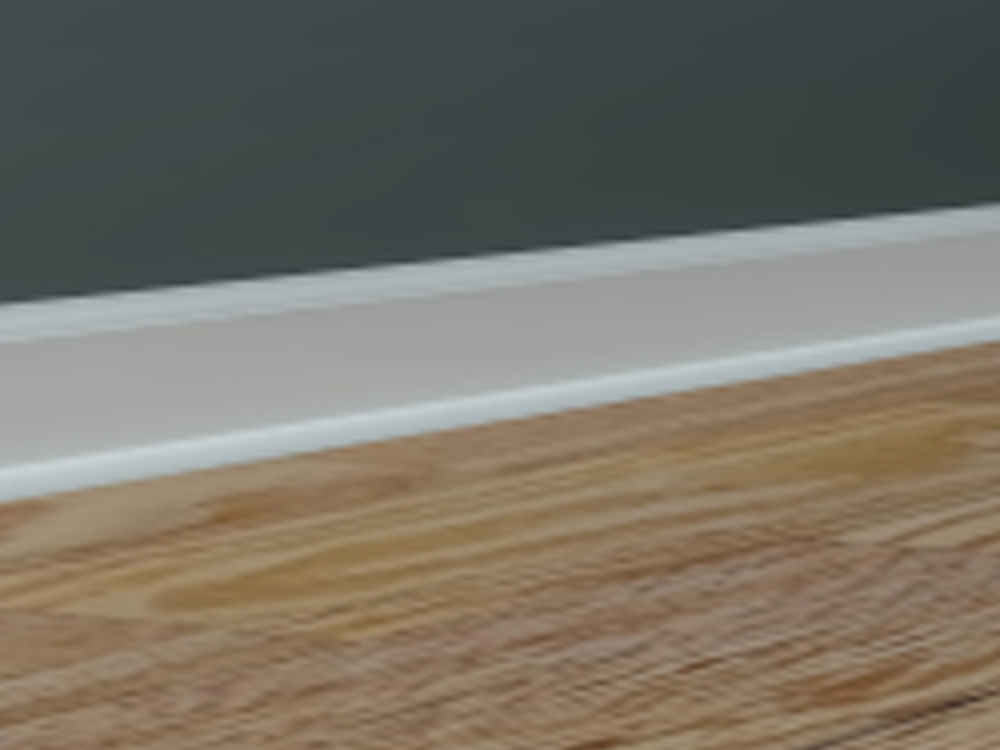 Quarter Round Molding for Flooring Transitions and Wall EdgesDecorative quarter round strip covers expansion gaps and small gaps at walls, cabinets, and floor junctions with wood-grain or marble-like finishes.View Product →
A transition strip that has pulled up usually failed for a reason: fasteners driven through the flooring instead of the subfloor, a subfloor that moves, or an expansion gap that was never left at the wall. Replacing a reducer or a T-molding is faster and more reliable than re-gluing the same strip a second time.
Match the profile to the job. A reducer bridges a height difference between two floors, an end cap finishes a cut edge, and both have a channel width that has to match the gap you actually have. Also check that the repair does not close the expansion gap at the perimeter; a strip that pins the floor to the wall will push the planks into each other and open a new seam somewhere else.
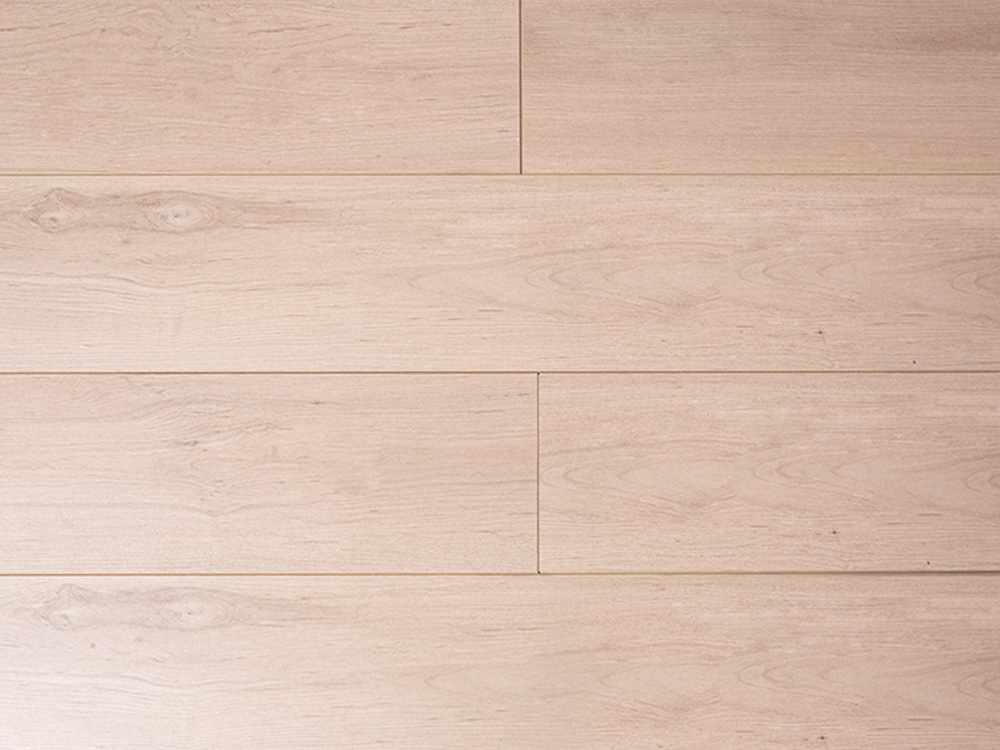 Flooring and MGO Board Product CatalogBrowse SPC, WPC, LVT, MGO boards, wall panels, ESD tiles, and accessories from a Chinese sustainable flooring manufacturer.View Product →
A replacement plank that is the wrong thickness, gloss or profile reads as a patch from across the room, even when the color is perfect. Check these six specifications before you cut.
| Specification | What to check | Why it decides the repair |
|---|---|---|
| Total thickness | 2.0 mm, 4.0 mm, 5.0 mm and similar | A half-millimeter difference shows as a lip you can feel with a bare foot |
| Wear layer | 6 mil to 20 mil, or the manufacturer's wear class | Sets the sheen depth and how the repaired area ages against its neighbours |
| Locking profile | Tongue and groove geometry and the angle of the click | Profiles are proprietary; a plank from a different line will not lock |
| Edge detail | Micro-bevel, painted bevel or square edge | Mismatched bevels outline the new plank like a picture frame |
| Surface | Embossed-in-register, matte, semi-matte or gloss | Gloss mismatch is visible long before any color mismatch |
| Dye lot | The production batch printed on the carton | Color and embossing drift between batches of the same product code |
The safest source of a match is still the original production run, which is why most installers leave two spare planks in a closet. When that is not an option, the original flooring manufacturer's catalogue is the next best reference for thickness, wear layer and locking profile.
Fillers, patches and plank swaps all work better on a floor that stays clean and stable, and a few habits cut the number of repairs far more than any repair technique does.
If you want the fuller routine — which cleaners are safe, how often to mop, and what to do with a floor that has started to dull — eight flooring maintenance methods lays out the seasonal checklist in one page.
Most vinyl floor repairs are smaller than the event that caused them. Fill the scratch, lift the dent, re-bond the lifted edge, and only cut a plank out when the core or the lock has genuinely failed. Worked in that order, a repair costing twenty minutes and a few dollars of filler usually outlasts the furniture that started the trouble.


 皖公网安备34182102000331号
 Indoor Plastic Wood Flooring Manufacturers

 English
 Español
 Deutsch