

AngL0306@outlook.com
If you have a basement slab, a first-floor condo foundation, or a garage being converted into living space, you have probably wondered whether luxury vinyl plank (LVP) can go directly over concrete. The short answer is yes, but concrete is not like a wooden subfloor. It brings two specific challenges: moisture and flatness. Handled correctly, LVP on concrete gives you a durable, waterproof floor that lasts for decades. Handled poorly, you risk mold, cracked locks, and a floor that shifts underfoot. This guide explains exactly how to test, prepare, and install LVP on concrete, whether you choose a floating or glue-down method.
Content
Concrete is porous. Even if it looks dry, moisture vapor can migrate upward through the slab and become trapped under your flooring. Over time, this vapor causes mildew growth, alkaline residue, and failure of the adhesive if you are using glue-down planks. For floating floors, trapped moisture can warp the planks and cause the locking mechanisms to fail.
Concrete also settles and cures unevenly. A slab that slopes slightly or has high and low spots will telegraph those imperfections through thin vinyl planks. Unlike wood, concrete will not flex to accommodate the flooring. Therefore, the motto of concrete flooring installation is simple: preparation is the installation.
Before you open a single box of flooring, you need to verify that the concrete is suitable for installation. Skipping these tests is the most common cause of premature floor failure.
The industry standard for concrete moisture testing is the calcium chloride test (ASTM F1869). You place a small dish of calcium chloride under a sealed plastic dome for 60 to 72 hours. The result measures how much moisture passes through 1,000 square feet of concrete in 24 hours. For most LVP warranties, the reading must be below 5 pounds, and many manufacturers now require below 3 pounds for peace of mind. A second test, the relative humidity (RH) test, uses probes inserted into holes drilled in the slab. RH values above 85% are generally considered too wet for LVP installation.
Use a 10-foot straightedge to check the slab. Lay it flat on the floor and measure the gap beneath it at every point. The allowed tolerance for vinyl flooring is typically 3/16 inch over a 10-foot span, or about 3 millimeters over 3 meters. If you find low spots, fill them with a self-leveling compound. For high spots, use a concrete grinder to bring the surface down. Also, check for cracks. Hairline cracks can be filled with a crack-repair compound, but larger structural cracks should be evaluated by a professional contractor.
After repairing, the slab must be completely clean. Sweep, then vacuum, then wipe the surface with a damp mop. Any dust, grease, or adhesive residue left behind will compromise the locking system of a floating floor or prevent proper adhesion of a glue-down floor. For glue-down installations, a clean surface is literally the difference between a floor that stays down and one that lifts within months.
There are two primary installation methods for LVP over concrete. Both are valid, but they have different requirements and performance characteristics. The table below summarizes the key differences.
| Factor | Floating LVP | Glue-Down LVP |
|---|---|---|
| DIY Suitability | Ideal for first-time installers | Requires experience with trowel and adhesive |
| Moisture Resistance | Excellent when paired with a vapor barrier | Depends on adhesive and primer quality |
| Floor Feel | Slightly softer underfoot | More rigid and direct |
| Replaceability | Easy to replace individual planks | Difficult to remove and replace |
| Warranty Support | Broad manufacturer approval for slabs | Requires strict subfloor prep documentation |
Floating floors use planks with click-lock or loose-lay edges that connect to each other but not to the concrete. Because the floor floats as a single sheet, it handles minor subfloor imperfections and natural expansion well. This method is usually the best choice for a weekend project, provided you install a 6-mil polyethylene vapor barrier first. Products designed for floating installation include click-lock LVT flooring, which locks together securely without the mess or waiting time of adhesive.
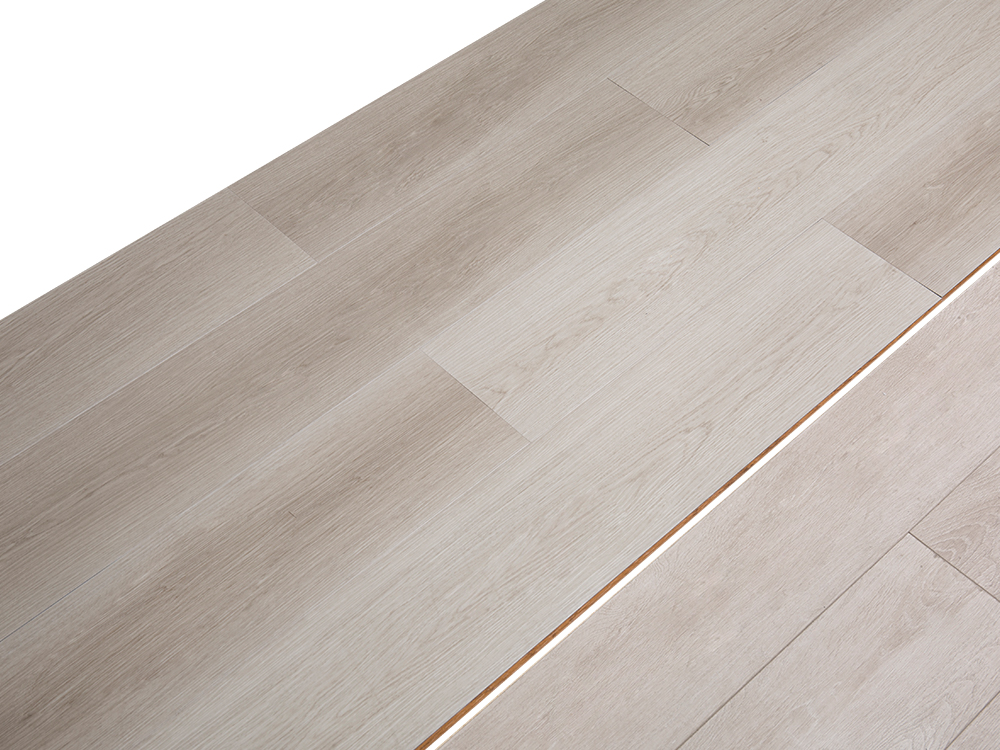 LVT Click Lock Flooring Suppliers, Factory - Anhui Hanhua Building Materials TeSwanflor LVT Click Lock Flooring Suppliers and LVT Click Lock Flooring Factory in China, offer Wholesale LVT Click Lock Flooring, The ...View Product →
Glue-down, or dry-back, LVP is applied directly to the concrete with a trowel-spread adhesive. It feels more solid underfoot than floating floors because there is no underlayment layer between the plank and the slab. This makes it popular for high-traffic commercial areas and large open spaces. However, it requires a perfectly smooth, clean, and dry slab. If the concrete is slightly uneven, every defect will show through the vinyl. Professional installers often prefer dry-back LVT flooring because it bonds directly to the substrate, but for the average DIYer, the margin for error is much lower.
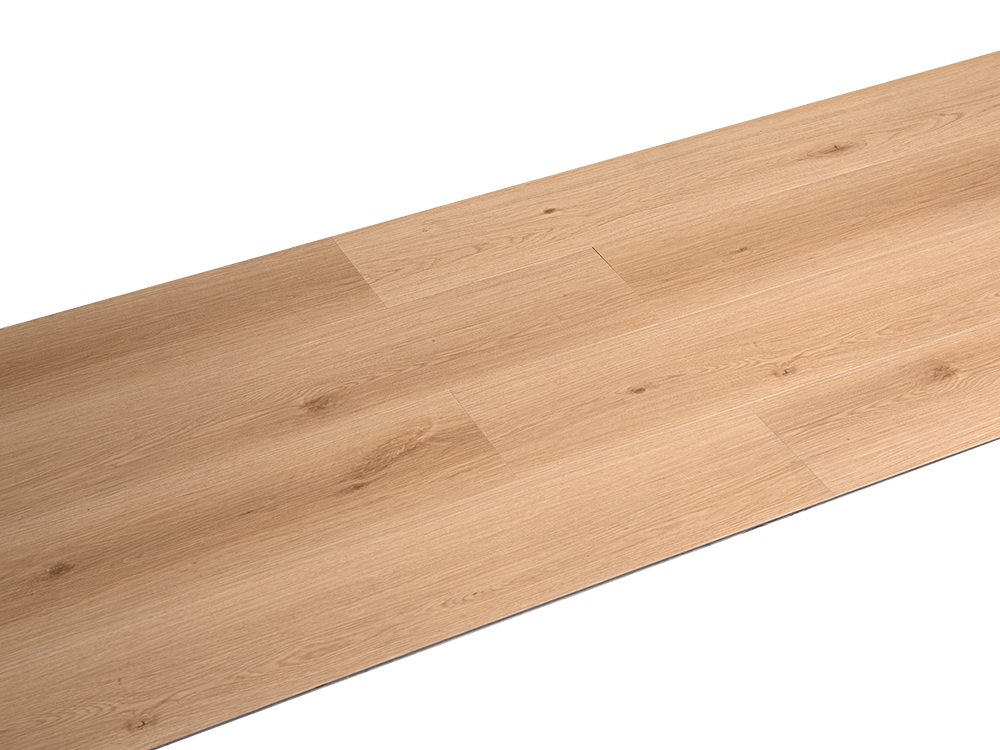 Dry Back LVT flooring Suppliers, Factory - Anhui Hanhua Building Materials TechnSwanflor Dry Back LVT flooring Suppliers and Dry Back LVT flooring Factory in China, offer Wholesale Dry Back LVT flooring, Luxury Vinyl ...View Product →
Traditional LVP is flexible, but many homeowners now consider rigid core flooring alternatives like SPC and WPC. These products use the same click-lock or glue-down installation methods, but they are dimensionally more stable in changing temperatures, making them an excellent choice for basement or sunroom concrete slabs.
For most DIYers, floating is the most practical method. Here is the correct order of operations.
Lay 6-mil polyethylene film across the entire concrete floor. Overlap each row by at least 8 inches and tape the seams with moisture-resistant tape. The vapor barrier prevents moisture from the concrete from reaching the vinyl. Some LVP products come with an attached underlayment pad, but you still need a vapor barrier if the concrete is below grade.
Move the LVP boxes into the room where they will be installed. Stack them flat and leave them for at least 48 hours. The room temperature should be between 65°F and 85°F. Acclimation reduces the risk of the planks expanding or contracting after installation.
Start from the longest straight wall in the room. Place 1/4-inch spacers between the wall and the first row of planks to create an expansion gap. This gap is critical because vinyl expands and contracts with temperature changes. If you skip the gap, the floor will buckle.
Cut the tongues off the first row of planks so the exposed edge faces the wall. This provides a clean, straight edge against the wall. Begin laying planks end-to-end, connecting the short ends by tapping them with a tapping block and rubber mallet.
For the second row, cut the first plank so that its end seam is staggered at least 6 inches from the seam in the first row. A typical stagger pattern is one-third or one-half plank lengths. Staggering strengthens the floor and creates a more natural appearance.
To connect rows, angle the tongue of the new plank into the groove of the installed row, then fold it down flat. It should click into place. For stubborn joints, use a pull bar to draw the planks together tightly. Never hit the planks directly with a hammer, as this can damage the locking mechanism.
When you reach a doorway, leave the expansion gap intact and cover it later with a transition strip. Use T-molding transition strips where the new floor meets another hard surface, or a reducer strip if the adjacent floor is lower.
Once all planks are installed, remove the spacers and install skirting boards or quarter-round trim to cover the expansion gap. For a seamless look, work with skirting boards that match the floor or paint them to complement your wall color.
Glue-down installation is more labour-intensive, but it is ideal for those who want a rock-solid feel. Start by priming the concrete with the adhesive manufacturer's recommended primer. Then, spread adhesive using a 1/16-inch square-notch trowel, working in small sections so the glue does not dry before you lay the planks. Wait for the adhesive to become tacky according to the manufacturer's open-time specification. Press each plank firmly into the adhesive, ensuring full surface contact. Use a 100-pound roller over the entire floor after installation to press out any air pockets. Keep traffic off the floor for at least 24 hours to allow the adhesive to cure.
Avoiding certain mistakes will save you from costly rework. The following issues are the most frequent causes of brand-new LVP floors failing on concrete slabs.
Once your floor is in place, proper care extends its lifespan. Be sure to follow proven floor-maintenance methods to keep the surface clean without damaging the wear layer.
Installing LVP over concrete is a rewarding project, but it demands patience with preparation and a strict adherence to the manufacturer's specifications. The moisture test, the flatness check, and the vapor barrier are not optional extras; they are the core of a successful installation. If you are prepared to handle these steps, your new LVP floor will serve you well in basements, kitchens, and living areas alike.
Before you start, it is a good idea to check current inventory and special offers on flooring products, as prices on high-quality LVP and accessories frequently change. With the right product and careful technique, your concrete-slab floor can look fantastic and stay stable for years.


 皖公网安备34182102000331号
 Indoor Plastic Wood Flooring Manufacturers

 English
 Español
 Deutsch