

AngL0306@outlook.com
Picture a buyer holding two samples over the counter: one LVT plank at 4.0 mm with a 20 mil wear layer, another at 6.0 mm with a 6 mil wear layer. The thicker board feels more substantial, sells itself in the hand, and often carries the higher price per square meter. In a busy hallway, the thinner board will usually outlast it.
That is the whole argument in one line: total thickness in millimetres decides how a floor feels, how it bridges a substrate and how its locking system behaves, while the wear layer in mil decides how long the walking surface survives. For most residential and mid-traffic commercial work, 4.5–6.0 mm of total thickness paired with a 12–20 mil wear layer covers the majority of specifications. Going thicker buys comfort, acoustics and subfloor forgiveness, not abrasion resistance.
Content
Spec sheets for luxury vinyl flooring list both numbers, and they are frequently read as if one implied the other. They do not.
Total thickness is measured in millimetres with a caliper and includes everything in the plank: the wear layer, the print film, the rigid or flexible core, and any backing or balancing layer. It tells you how the plank spans a subfloor, how deep the locking profile can be milled, how much impact noise it absorbs and how it handles minor height variation at a doorway.
Wear layer is measured in mil, where 1 mil equals 0.0254 mm. It is the transparent vinyl on top of the print, and it is the only part of the product that touches shoes, grit, pet claws and chair castors. A 20 mil wear layer is roughly 0.5 mm of clear vinyl. This is the number that governs surface life and carries most commercial warranty terms.
One practical consequence: a 4.0 mm plank with a 20 mil wear layer is a wear-resistant but relatively thin floor, best glued down over a flat slab. A 7.0 mm plank with a 6 mil wear layer is a comfortable, quiet floor that will scuff and dull early in a shop or a hallway. Neither is badly made — they are aimed at different jobs.
Thickness bands cluster around specific construction types, so the range usually tells you something about installation method before you read the datasheet.
| Total thickness | Usual construction | Where it works | What to watch |
|---|---|---|---|
| 2.0–3.0 mm | Dry-back glue-down LVT | Retail, offices, healthcare over sound, flat slabs | Follows every dip in the substrate; needs a properly prepared floor |
| 3.2–4.0 mm | Slim rigid core, click | Rentals, light residential, tight budgets | Less tolerance for flatness variation and for heavy point loads |
| 4.5–5.5 mm | Mainstream rigid core, click | Most residential work and mid-traffic commercial | Verify lock profile depth; check batch thickness consistency |
| 6.0–8.0 mm | Heavy rigid core or WPC with backing | Hospitality, comfort-led residential, acoustic requirements | Higher weight per square meter, higher freight and handling cost |
The gap between 4.0 mm and 5.0 mm matters less for wear than for what happens underneath the plank. A thicker core resists telegraphing from small substrate irregularities and feels quieter underfoot, which is why hospitality buyers tend to specify above 6.0 mm regardless of traffic level.
If a buyer only has one question to ask, it should be about the wear layer. Traffic class, cleaning frequency and the presence of grit all act on that clear film.
| Wear layer | Typical exposure | Notes |
|---|---|---|
| 6–8 mil | Bedrooms, closets, light rental units | Entry-level protection; avoid pets and rolling chairs |
| 12 mil | Whole-home residential, small offices | The most common residential specification worldwide |
| 20 mil | Retail, hospitality, school corridors | Commercial-grade surface at a moderate price step |
| 28–40 mil | Transport, healthcare, heavy commercial | Highest abrasion performance; usually paired with commercial terms |
Where the wear layer is specified honestly, formats such as dry-back and loose-lay LVT can be matched to the same performance band as a click plank. The construction changes the installation method, not the surface durability.
A click joint is milled into the core, so core thickness and core density both shape how the profile performs. Thin cores force shallower joints with less overlap, which is why 3.5 mm click products demand a flatter substrate and gentler handling during installation. Thicker cores allow deeper, more forgiving profiles.
Symmetrical constructions help here. In an ABA build, the core sits between two matched layers that balance tension on both faces, which reduces cupping and keeps joint edges aligned through seasonal movement. That stability shows up as fewer peaking joints six months after handover, particularly over warm slabs and in dry climates.
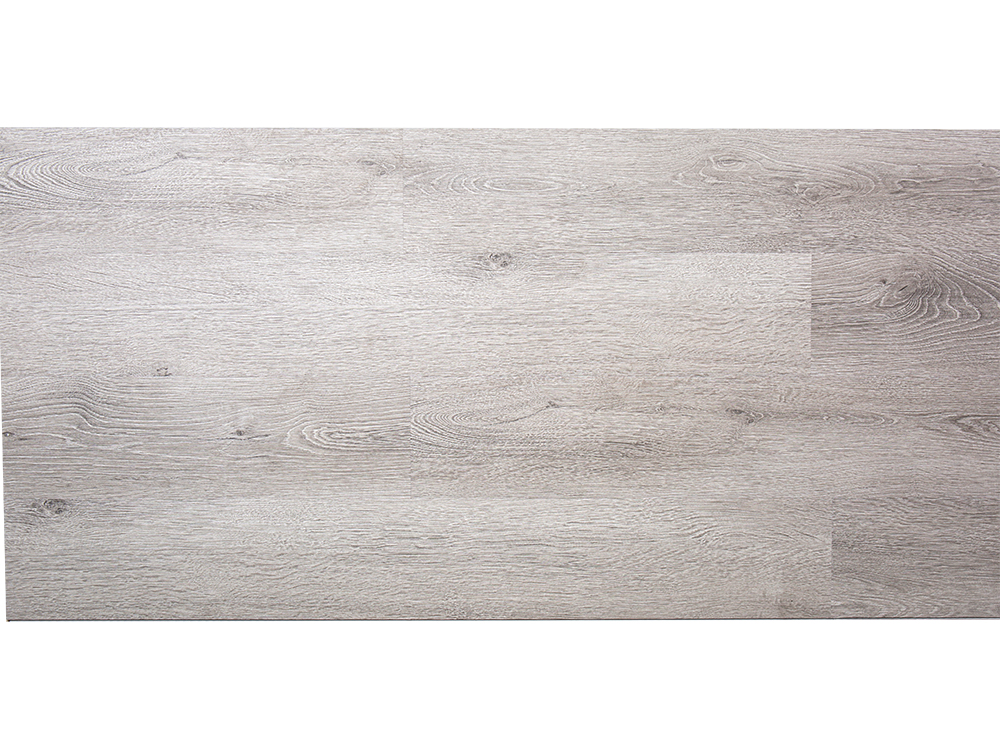 ABA Structured SPC Flooring with Balanced CoreThree-layer ABA SPC with a PVC balance layer improves dimensional stability and flatness where temperature and humidity vary.View Product →
Two rules save callbacks. First, never mix thicknesses within one continuous run; a 1 mm step at a joint will open under load. Second, when thickness changes between rooms, plan the break at a doorway with a proper transition profile rather than trimming the plank.
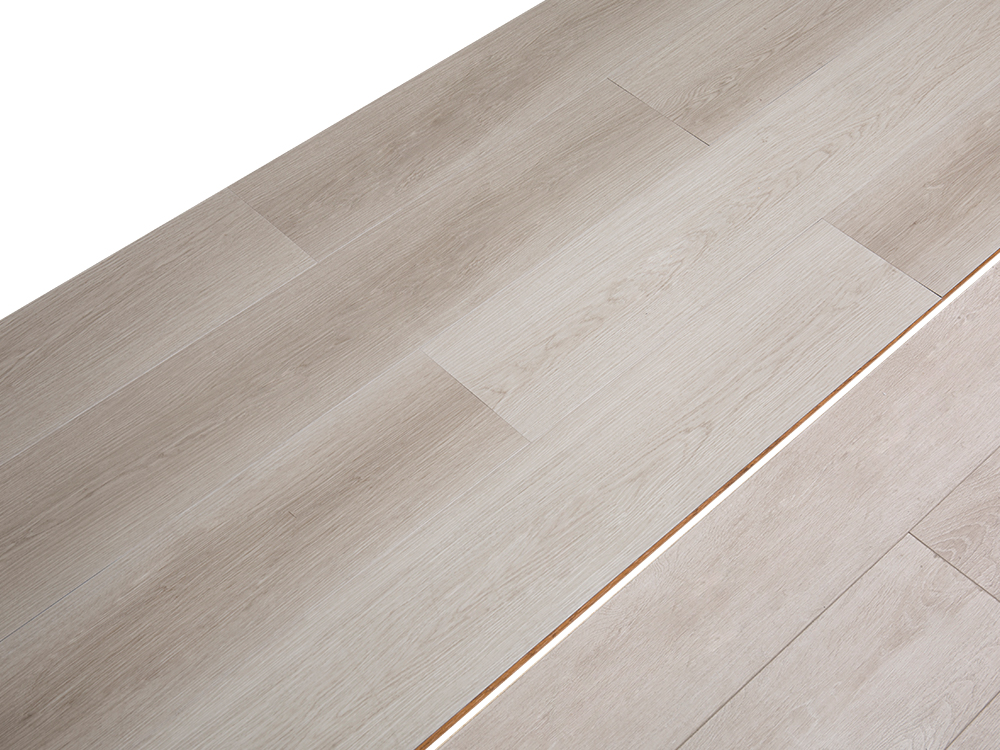 LVT Click Lock Flooring for High-Traffic UseLocking luxury vinyl tile in 3.5–5 mm thickness offers adhesive-free installation, water resistance, and stable PVC-core performance.View Product →
For importers, thickness is a logistics decision as much as a technical one. Rigid core density typically sits around 1.9–2.1 g/cm³ depending on filler loading, so weight scales almost linearly with thickness. Roughly, a 4.0 mm SPC plank runs near 8 kg/m², and a 6.0 mm plank near 12 kg/m².
Across a full container that difference decides how many square meters you can load before hitting road weight limits in the destination market. Adding 1 mm of core raises material cost, freight cost per square meter and handling weight, while leaving abrasion performance untouched. When a project needs better surface life, the cheaper move is usually to raise the wear layer and keep the core moderate; when it needs comfort and acoustic separation, spend on the core instead.
Thickness choices get easier once the room and the slab are known.
Flatness tolerance deserves a line of its own. Floating floors generally want the substrate within about 3 mm over a 2 m straightedge; glue-down installations want it tighter. A thicker plank absorbs slightly more of that variation, but it never replaces proper levelling. Moisture-prone installs are covered in more detail in this note on rigid core flooring in bathrooms.
Before signing off a production run, put the sample through these checks. They catch most of the mismatches that only surface after installation.
None of these steps require a lab. They require a caliper, a straightedge and a week of patience, and they separate a genuine 20 mil commercial plank from a 12 mil product described as one.
Thickness is not a proxy for quality, and thicker is not automatically better. Read the two numbers separately: choose the wear layer from the traffic the floor will actually see, then choose the total thickness from the substrate, the acoustic requirement and the freight budget. Get that order right and the specification usually lands within a millimetre of where it should be — with the money spent on the layer that touches the shoes.


 皖公网安备34182102000331号
 Indoor Plastic Wood Flooring Manufacturers

 English
 Español
 Deutsch