


AngL0306@outlook.com
Content
Concrete subfloors are one of the best foundations you can work with — they are stable, flat (when properly prepared), and compatible with both luxury vinyl plank (LVP) and vinyl composition tile (VCT). The right choice depends on your setting: LVP is the superior option for residential spaces and light commercial environments where aesthetics and moisture tolerance matter most, while VCT remains the cost-effective workhorse for heavy commercial traffic areas like schools, hospitals, and retail stores.
Both materials install directly over concrete, but the process, prep work, and long-term maintenance requirements differ significantly. This guide covers everything you need to install either product correctly — from concrete assessment through the final finish coat.
Knowing what each product is made of explains why their installation processes differ and what each one tolerates on a concrete subfloor.
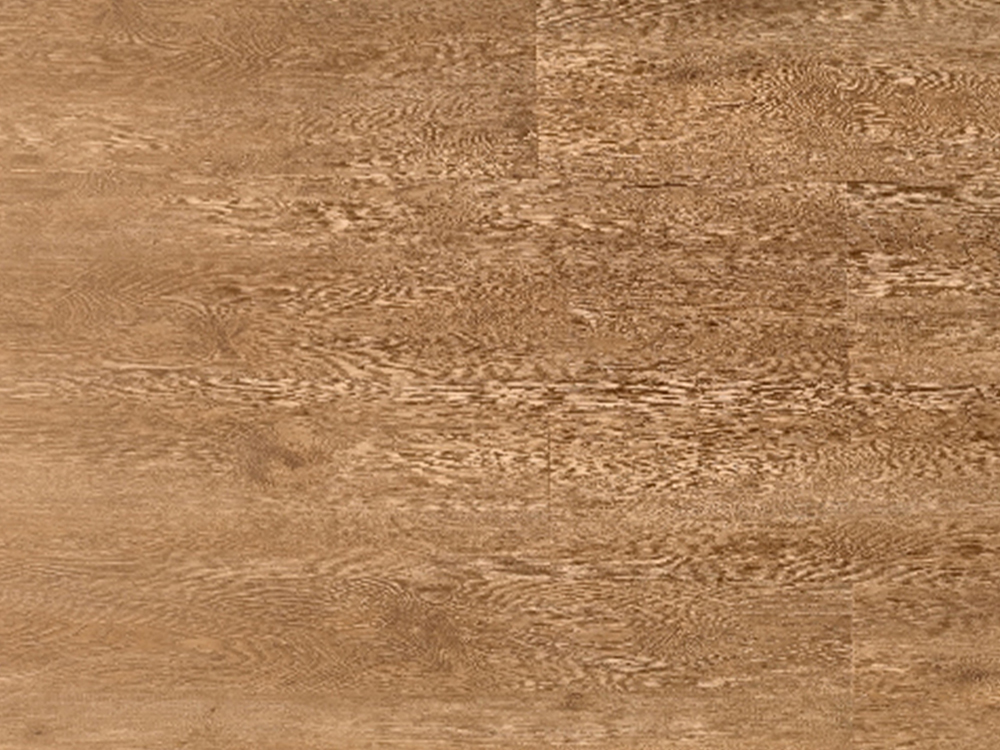
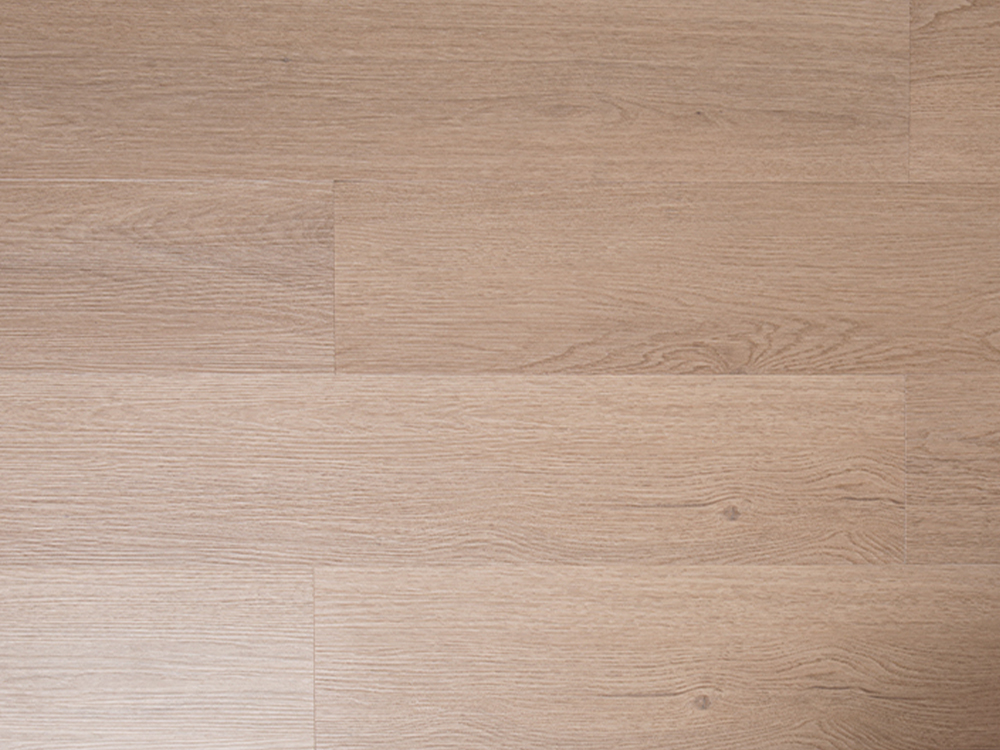
LVP is a multi-layer vinyl product — typically 4 to 8 mm thick — consisting of a rigid or semi-rigid core (WPC, SPC, or standard PVC), a printed design layer, and a wear layer ranging from 6 mil for residential use to 28 mil or more for heavy commercial. Most LVP products use a click-lock floating installation that requires no adhesive directly to the concrete. Some thinner LVP products use full-spread adhesive or a peel-and-stick backing. SPC-core LVP (stone plastic composite) is the most dimensionally stable option for concrete slabs that experience minor temperature or moisture fluctuations.
VCT is a solid, homogeneous tile typically 12×12 inches and 1/8 inch thick, composed of limestone filler, thermoplastic binders, and pigment. It is always installed with full-spread adhesive directly bonded to the concrete. VCT has no wear layer in the vinyl sense — its durability comes from periodic application of floor finish (wax) that must be stripped and reapplied on a maintenance schedule. Without consistent stripping, buffing, and recoating, VCT floors quickly look dull and worn.
| Factor | LVP on Concrete | VCT on Concrete |
|---|---|---|
| Installation method | Float, glue-down, or peel-and-stick | Full-spread adhesive only |
| Material cost (per sq ft) | $2–$7+ | $0.50–$1.50 |
| Moisture tolerance | High (especially SPC core) | Low — adhesive fails with moisture |
| Subfloor flatness required | 3/16" per 10 ft (floating); 3/16" per 10 ft (glue-down) | 3/16" per 10 ft minimum |
| Ongoing maintenance | Sweep, damp mop — no waxing | Requires strip, scrub, and recoat schedule |
| Best environment | Residential, light-to-medium commercial | Heavy commercial, institutional |
| DIY-friendly | Yes (floating systems) | Possible but demands precision |
Whether you are installing LVP or VCT, the single most important determinant of long-term success is concrete preparation. Flooring failures — tile lifting, grout-line telegraphing, hollow spots, and cracked tiles — trace back to subfloor issues in the majority of warranty claims. Take the time here and the rest of the installation is straightforward.
Concrete slabs emit moisture vapor continuously, even years after the pour. Excess moisture destroys VCT adhesive bonds and can cause LVP adhesive installations to fail or floating floors to cup. There are two standard tests:
If results exceed limits, apply a moisture mitigation coating — epoxy moisture barriers are the most common — before proceeding. Do not skip this step based on a visual assessment of the slab. Many problem slabs look perfectly dry.
Use a 10-foot straightedge to identify high and low spots. The industry standard for both LVP and VCT is no more than 3/16 inch variation over a 10-foot span. High spots are ground down with a floor grinder. Low spots, cracks, and joints are filled with a Portland cement-based floor leveler or patching compound — never gypsum-based products on concrete that sees any moisture. Allow the leveler to cure fully (typically 24 hours for most products) before installing flooring.
Remove all existing adhesive residue, paint, curing compounds, sealers, and contaminants. Old adhesive residue is one of the most common reasons VCT tiles fail to bond properly. Mechanical scarification (shot blasting or grinding) is more effective than chemical strippers for achieving a clean, open-pore concrete surface that accepts adhesive. The slab must be structurally sound, free of dust, and at ambient temperature before installation begins.
Both LVP and VCT must acclimate to the installation environment before installation. LVP floating products typically require 24–48 hours at room temperature (65°F–85°F / 18°C–29°C). VCT must be stored flat at 65°F–85°F for at least 24 hours. Cold VCT tiles crack during installation; tiles that acclimate warm are flexible and conform well to the subfloor during the rolling process.
The most popular LVP installation method on concrete is the floating click-lock system. It is DIY-accessible, requires no adhesive, and allows the floor to move slightly with temperature changes — which matters on slabs that see temperature swings.
For glue-down LVP on concrete, the process follows VCT adhesive principles (described below), but the adhesive product, trowel notch size, and open time are specified by the LVP manufacturer — always follow their specific guidelines, as they differ from VCT adhesives.
VCT installation is fundamentally a layout-and-adhesive process. The margin for error is lower than floating LVP because every tile is permanently bonded — mistakes show permanently. Professional-grade VCT work is defined by a precise center-room layout, consistent adhesive coverage, and thorough rolling immediately after laying each section.
VCT is always installed from the center of the room outward, not from a wall. This ensures border tiles are equal on opposite sides and the most visually prominent area of the floor — the center — has full tiles. Measure the room length and width, find the midpoints of each wall, and snap chalk lines between opposite midpoints to establish the center cross. Do a dry-lay test run before spreading any adhesive: place tiles along the layout lines to verify that border tiles at all four walls are at least half a tile wide. If they are not, shift the center lines accordingly.
Spread adhesive in one quadrant at a time, keeping your layout lines visible. Hold the trowel at a consistent 45-degree angle to maintain uniform notch depth. Work to the chalk lines cleanly — adhesive that covers your reference lines will misalign your tile grid. After spreading, allow the adhesive to flash off (become tacky) before placing tiles — typical open time is 20–40 minutes depending on product, temperature, and humidity. Touch the adhesive with your knuckle: it should feel tacky but not transfer to your skin. If it transfers, wait longer. If it is dry and not sticky, you have exceeded the working time and must reapply.
New VCT must receive floor finish before it is opened to traffic. The factory coating on VCT is a release agent, not a finish — it must be stripped off first with a neutral pH stripper, then the floor is allowed to dry completely. Apply 4–6 thin coats of floor finish, allowing each coat to dry fully (30–45 minutes) before the next. Thin coats cure harder and more durably than thick coats. The finished floor should have a consistent sheen and feel smooth underfoot before any foot traffic is allowed.
A common real-world scenario is installing new LVP or VCT over a concrete slab that previously had VCT — leaving behind a layer of old adhesive. How you handle this depends on what the old adhesive is.
If the existing adhesive is non-asbestos and fully bonded (not lifting): many LVP glue-down and VCT adhesives can be applied directly over a smooth, fully-adhered residue layer. The residue must be flat, with no ridges or adhesive buildup. Skim over uneven spots with floor leveler.
If the adhesive contains asbestos (common in tiles and mastics installed before 1986): do not sand, grind, or disturb it. Encapsulation — installing new flooring on top with a compatible adhesive or floating system — is typically the safest and most cost-effective approach. Consult local regulations; in many jurisdictions, disturbing asbestos-containing materials requires licensed abatement contractors.
For floating LVP specifically, fully bonded old adhesive residue that is smooth and flat can often be left in place, covered by the moisture barrier and underlayment. The floating system does not bond to it, so residue quality matters less than for glue-down installations.
Both LVP and VCT installations on concrete have well-documented failure modes. Most are preventable with proper process.
| Mistake | Applies To | What Happens | How to Prevent It |
|---|---|---|---|
| Skipping moisture testing | Both | Adhesive failure, tile lifting, mold | Test with ASTM F2170 or F1869 before any work |
| Insufficient subfloor leveling | Both | Hollow tiles, cracked tiles, visible ridges | Use 10-ft straightedge; grind highs, fill lows |
| No expansion gap (LVP) | LVP (floating) | Planks buckle and peak at walls | Maintain 1/4" gap at all fixed surfaces |
| Adhesive over-application (VCT) | VCT | Adhesive bleeds through tile joints | Use correct notch trowel; never apply too thick |
| Not rolling VCT | VCT | Tiles lift at edges within days or weeks | Roll with 100-lb roller in both directions immediately |
| Cold tile installation (VCT) | VCT | Tiles crack during cutting or placement | Acclimate at 65°F+ for minimum 24 hours |
| Inconsistent end-joint stagger (LVP) | LVP (floating) | Weak H-joints; floor can separate | Offset end joints by minimum 6 inches between rows |
The maintenance paths for LVP and VCT diverge significantly after installation — this is often an underestimated factor in the initial decision between the two products.
LVP requires minimal maintenance. Sweep or vacuum regularly to prevent abrasive grit from scratching the wear layer. Damp mop with a pH-neutral floor cleaner — avoid steam mops on floating LVP, as heat and moisture can affect click-lock joints over time. Do not apply wax, polish, or floor finish to LVP; it is not needed and most products will not adhere properly to the aluminum oxide wear layer anyway. A quality LVP floor with a 20-mil wear layer installed in a residential setting can last 25 years or more with this simple routine.
VCT requires a structured floor care program to maintain appearance and protect the tile. A typical commercial schedule includes:
In high-traffic commercial settings, this maintenance program represents a real ongoing cost. A school or hospital might spend $0.30–$0.60 per sq ft per year on VCT maintenance supplies and labor — costs that do not exist with LVP. Over a 10-year period, the lifetime cost of VCT often exceeds that of LVP when maintenance is factored in, despite VCT's lower initial material cost.
The decision comes down to three practical factors: traffic level, maintenance capacity, and moisture conditions at your specific slab.
Both products, properly installed on a well-prepared concrete slab, will perform reliably for decades. The prep work is never optional — it is where the outcome is decided, before a single tile or plank is placed.


 皖公网安备34182102000331号
 English
 Español
 Deutsch


